Editorial review: Usevila Editorial Team · Last reviewed: October 29, 2026
Need to upload a passport-style photo to a passport, visa, job, school, or other online application? The difficult part is not simply making a photo smaller. You may need to meet several separate rules for dimensions, file size, image format, face position, lighting, background, and whether digital editing is allowed. A photo can meet a file-size limit and still be rejected because its crop or appearance is wrong.
The most important rule: there is no single passport photo size that works for every country and application. Always read the current instructions for the exact form before resizing or uploading anything. This guide explains how to check pixels, KB, aspect ratio, and image quality, with examples from official UK, US, and Bangladesh government guidance.
1. What Does “Passport Photo Size” Actually Mean?
When an application asks for a passport photo, “size” can mean different things. Read the form carefully so you know which requirement it is describing.
- Physical print size: the width and height of a printed photograph, commonly given in inches or millimetres.
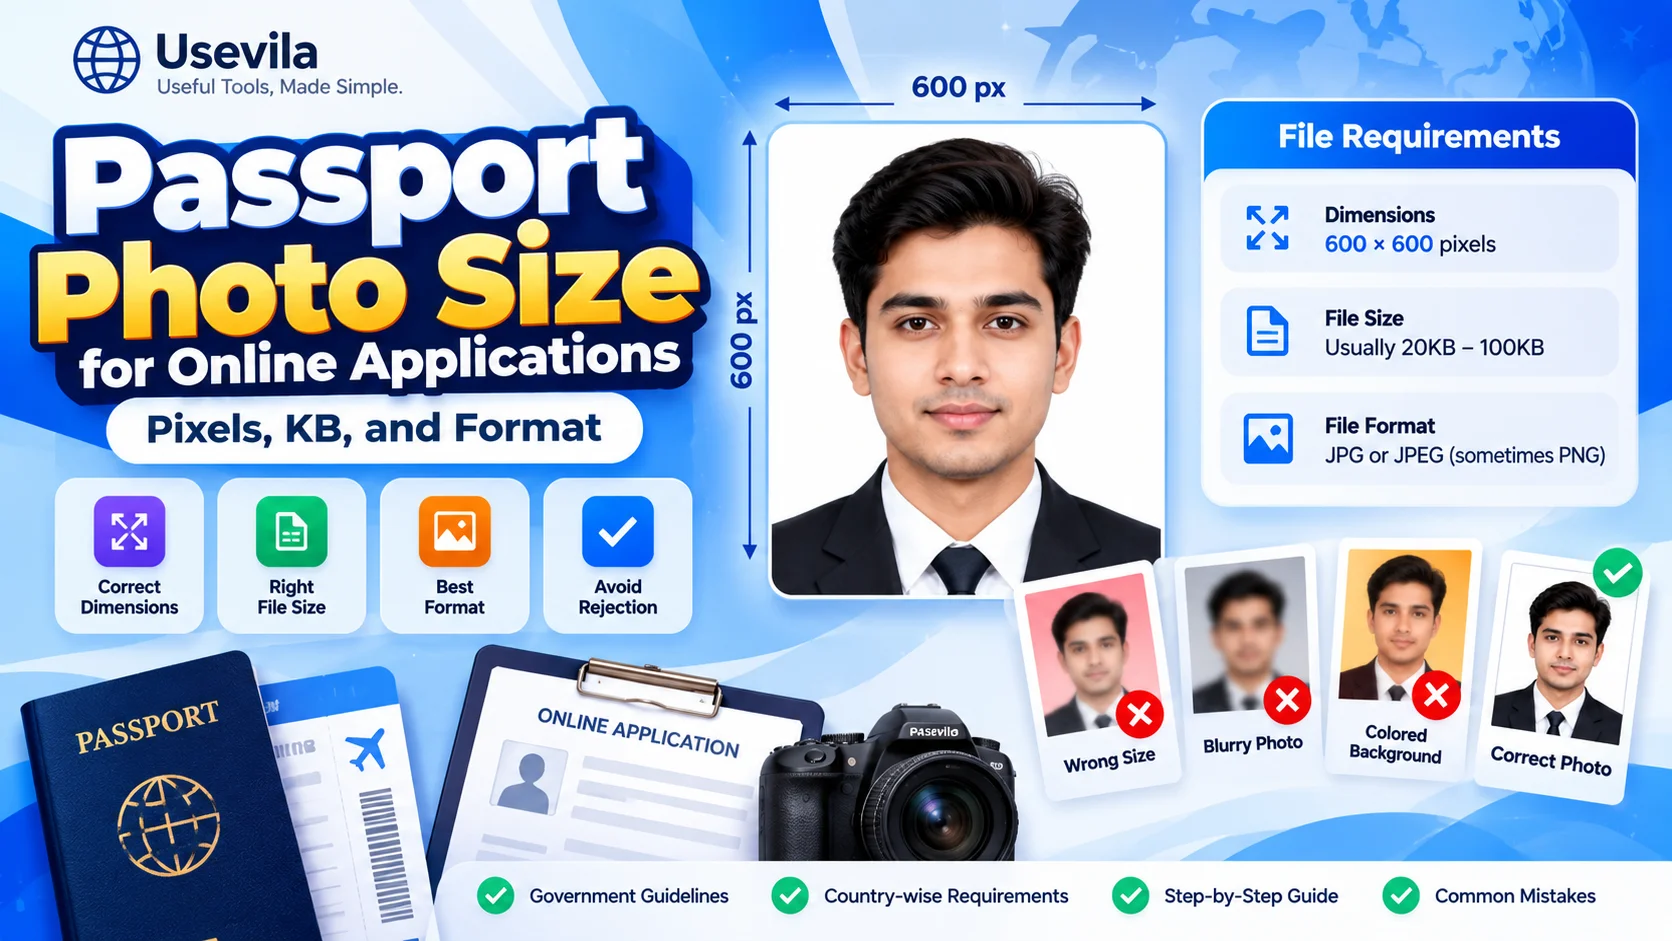
- Pixel dimensions: the number of pixels across and down in a digital image, such as 600 × 750 pixels.
- File size: how much storage the image uses, usually shown in KB or MB.
- Aspect ratio: the relationship between width and height, for example 4:5 or 1:1.
- Photo composition: the position and scale of the head, visible shoulders, background, expression, and lighting.
- File format: the accepted file type, such as JPEG/JPG or PNG.
These are related, but they are not interchangeable. An image can be 600 × 750 pixels and still have the wrong face framing. A JPEG can be under 100 KB but too blurry. A perfectly framed photo may still be rejected if the application expects a different size or prohibits digital edits.
2. Passport Photo Size Requirements Vary by Country
Use official instructions for the destination country and application type—not a random “passport photo size” chart. The examples below show why checking the source matters.
United States
The US Department of State states that a standard printed passport photo should measure 2 × 2 inches (51 × 51 mm). Its guidance also specifies the approximate head-size range on the print and requires a clear, colour image with the face centred, eyes visible, and a plain white or off-white background. For online renewal, applicants submit a digital image through the application workflow, so follow the portal’s current digital instructions rather than assuming every printed-photo rule translates directly to an upload.
Official source: US Department of State — Passport Photos.
United Kingdom
For UK passport applications, GOV.UK says a digital photo must be at least 600 pixels wide and 750 pixels tall, and the file must be at least 50 KB and no more than 10 MB. It also gives rules about the background, lighting, expression, face visibility, and image quality. These details are specific to the UK process and should not be applied automatically to another country.
Official source: GOV.UK — Get a passport photo, including its linked digital photo rules.
Bangladesh e-Passport
Bangladesh’s official e-Passport portal explains that, for most applicants, the face image is captured with a digital camera during enrolment at the passport office, so applicants generally do not need to attach their own photo to the application. The portal describes exceptions for young children, including a 3R-size photo for children under six. Check the current portal instructions for your specific case before preparing a file: a generic online passport-photo guide is not a substitute for Bangladesh’s official process.
Official source: Bangladesh e-Passport Portal — Photo FAQ and application instructions.
Takeaway: do not use one country’s pixels, inches, or KB limits as a universal standard. Confirm the exact requirements on the government or application website that will receive your photo.
3. Pixels vs KB: Which One Should You Check First?
Start with the application’s required width and height, accepted format, and file-size range. If it lists all three, you must satisfy all three. For example, a file may be small enough to upload but have too few pixels; increasing its pixel dimensions afterward does not recreate detail that was never captured. Upscaling can make a file larger without making the face genuinely sharper.
Pixels describe image dimensions, while KB or MB describes the amount of digital data in the file. File size is affected by dimensions, image detail, compression quality, format, and metadata. Two images with the same pixel dimensions can have very different file sizes. A detailed photograph generally contains more information than a flat graphic.
Use a reliable original image and check its actual properties before changing anything. In Windows, you can often right-click a file and open Properties; on macOS, use Get Info or Preview’s Inspector. On a phone, open the image’s details in the Photos or Gallery app, if available. The names of menus may vary by device.
4. How to Prepare a Passport-Style Photo for an Online Application
- Open the official requirements first. Save or note the requested dimensions, minimum and maximum file size, format, background, face-framing rules, and whether the file must be an untouched original.
- Take a clear original photo. Use even light, keep the camera steady, and place the person in front of a plain, light-coloured background if the instructions require one. Avoid strong shadows, coloured lighting, filters, and portrait effects.
- Follow the required framing. Keep the head facing forward and the face visible. Do not guess the amount of space above the head or the proportion of the face: use the official example or measuring guide where one is provided.
- Check the allowed format. If the portal asks for JPEG, a PNG file may not be accepted even if it looks correct. Do not rename a file extension to pretend that one format is another; use a genuine format conversion only when permitted.
- Check dimensions and file size. Compare the image properties with the form’s exact limits. Avoid repeatedly saving the same JPEG, since repeated compression can degrade quality.
- Edit only when the rules permit it. Some authorities allow a digital upload workflow but still prohibit retouching or computer alterations. Never remove facial features, apply beauty filters, alter skin tone, or change the person’s appearance. If the authority requires an original, unedited photo, use an appropriate original instead of resizing or modifying it.
- Preview the final file. Make sure the face is clear, nothing important is cropped, and the output is saved in the required format. Keep a copy of the original file in case you need to start again.
- Upload and follow portal feedback. If the portal rejects the file, read its message and compare it with the official requirements. Do not keep changing random values or use a third-party tool to bypass an identity-photo check.
5. Using an Online Photo Resizer: When It Helps—and When It Does Not
If the application explicitly permits resizing and the photo already meets the appearance rules, an image tool can help with basic technical preparation. Usevila’s Passport / Visa Photo Resizer is available for workflows that need photo dimensions adjusted. Before using any resizer, check whether the specific application allows the type of processing you intend to do.
For other image tasks, Usevila also provides an Image Aspect Ratio Calculator to understand width-to-height proportions, an Image DPI Calculator for print-related calculations, and more image tools. These tools calculate or adjust technical properties; they do not certify that a photo meets an immigration authority’s biometric or identity-photo standards.
If an online form specifies a strict file-size limit for a general profile image or document upload, read our guide How to Compress an Image to 50KB for an Online Form and the Compress Image to Exact KB tool. But do not compress a passport image below the minimum permitted size, or edit a government photo in a way its rules forbid.
6. Common Reasons an Application Photo Is Rejected
- Wrong dimensions: the width or height is outside the allowed range, or the aspect ratio is incorrect.
- Incorrect file size: the file exceeds the maximum or falls below the minimum.
- Wrong format: the portal accepts JPEG but the uploaded file is PNG, HEIC, or another unsupported format.
- Face too close, too far away, or off-centre: the photo does not match the authority’s framing example.
- Shadows or a busy background: the face or outline is hard to distinguish from the background.
- Blur or pixelation: the original is low quality, the camera moved, or compression removed too much detail.
- Glasses, headwear, or hair covering the face: the item conflicts with the relevant rules. Exceptions may exist for religious, medical, or accessibility reasons, so read the official guidance.
- Digital retouching: filters, face reshaping, skin smoothing, or edits that alter the person’s appearance can make a photo unacceptable.
- Old or inaccurate likeness: some authorities specify how recently a photo must have been taken. Use a current photo that accurately represents the applicant.
Do not assume a rejection means the pixel dimensions are the only problem. Check the entire rule set and the specific error message, then correct only the issue that the authority allows you to correct.
7. A Quick Pre-Upload Checklist
Before selecting “Upload” or “Submit,” check each item that applies to your application:
- ☐ I opened the current official photo rules for the exact country and application type.
- ☐ I confirmed required physical size or pixel width and height.
- ☐ I confirmed the accepted file format and the minimum/maximum KB or MB.
- ☐ The face, head and shoulders are framed according to the official example.
- ☐ The background, lighting, expression and visibility meet the stated rules.
- ☐ The file is sharp and not unnecessarily compressed.
- ☐ I have not used prohibited filters, retouching, cropping or alterations.
- ☐ I kept the original file and checked the final saved file before uploading.
8. Frequently Asked Questions
What is the correct passport photo size in pixels?
There is no universal pixel size. The requirement depends on the country, passport or visa type, and whether the system needs a digital file or a printed photo. For example, GOV.UK specifies a minimum of 600 × 750 pixels for a UK passport digital photo, while a standard printed US passport photo is 2 × 2 inches. Always check the relevant official source.
Is 50 KB enough for a passport photo?
Only when the specific application allows it. GOV.UK lists 50 KB as the minimum file size for a UK digital passport photo, not as a universal target for all passports or visas. Other systems use different limits. Never reduce a file simply to 50 KB without checking the application’s instructions.
Can I use the same photo for a passport, visa, and online form?
Not always. A visa application, passport renewal, student form, and job portal can use different dimensions, formats and photo rules. Even when the same original portrait is suitable, you may need to follow a different submission process. Some official systems capture the biometric image in person.
Will resizing guarantee that my photo is accepted?
No. Resizing can change pixel dimensions, but it cannot guarantee that the face scale, background, expression, lighting, image age or authenticity meets the official requirements. A tool cannot replace the receiving authority’s decision.
Does Bangladesh e-Passport require me to upload a passport photo online?
The Bangladesh e-Passport portal says most applicants have their face image captured during enrolment at the passport office. It lists exceptions for some applications involving children. Check the portal’s current FAQ and instructions because requirements can depend on the applicant’s age and situation.
Should I crop the photo myself?
Only if the specific instructions permit it. Some systems ask applicants to submit a wider uncropped image so the portal can crop it automatically. Others specify exact dimensions or framing. Follow the rule for the form you are completing.
Final Advice
The safest way to prepare a passport or visa photo is to begin with the official requirements, use a clear and current original, and verify every technical limit before uploading. Pixels, KB, format and aspect ratio matter—but they are only part of the decision. Do not rely on a generic size chart or on an online resizer to certify an official identity photo.
Usevila’s tools and guides can help with permitted image calculations and file preparation. For the most reliable result, confirm the final rules with the government or organisation that receives the application. If you spot an issue with a Usevila tool or want to suggest a guide, visit our Contact page or learn more About Usevila.
Sources and review note: This guide was reviewed against official instructions available on October 29, 2026. Requirements can change and may differ by application type. The linked government pages are the authoritative sources for the requirements they cover; this article is informational and is not an official government notice or a guarantee of application approval.